

The MacBook Neo's 13.3-inch screen works fine for casual browsing, but serious work often demands more space. You can connect an external monitor, though there are some limitations you should know about before buying a display. If you're still deciding whether to buy, check our MacBook Neo review first.
Here's everything you need to know about MacBook Neo external display support, including setup steps, resolution limits, and workarounds.
What MacBook Neo supports
MacBook Neo supports one external display at up to 4K resolution (3840x2160) at 60Hz. You can use this alongside the built-in 13.3-inch Retina display for a dual-screen setup.
| Specification | MacBook Neo |
|---|---|
| Maximum external displays | 1 |
| Maximum resolution | 4K (3840x2160) |
| Maximum refresh rate | 60Hz |
| Connection type | USB-C with DisplayPort 1.4 |
| Thunderbolt support | No |
This is similar to the base MacBook Air M1's display limitations. The A18 Pro chip prioritizes efficiency over the display subsystems found in workstation-class processors.

Which USB-C port to use
MacBook Neo has two USB-C ports, but they're not equal. This matters for external displays.
- Left port (USB 3): Supports video output via DisplayPort 1.4, data transfer up to 10Gbps
- Right port (USB 2): Does NOT support video output, limited to 480Mbps data transfer
Connect your monitor to the left port. If you plug a display into the right port, macOS will show a warning that you're using the wrong port and the display won't work.
The right USB-C port physically accepts the same cables but won't output video. Many users get confused by this. Always use the left port for external displays.
How to connect an external monitor
You can set up an external display in just a few minutes. Here's the process.
Step 1: Get the right cable or adapter
Depending on your monitor, you'll need one of these:
- USB-C to USB-C cable: Best option if your monitor has USB-C input. Single cable handles video and can charge your MacBook if the monitor supports Power Delivery.
- USB-C to DisplayPort cable: Works with most modern monitors. Supports full 4K 60Hz.
- USB-C to HDMI adapter or cable: Most common option. Make sure it supports HDMI 2.0 or higher for 4K 60Hz.

Step 2: Connect to the left USB-C port
Plug your cable into the left USB-C port on your MacBook Neo. If your monitor needs separate power, connect that too.

Step 3: Configure display settings
macOS should detect the display automatically. To adjust settings:
- Open System Settings
- Click Displays in the sidebar
- Select your external display
- Choose resolution, refresh rate, and color profile
- Arrange displays by dragging them in the preview
You can mirror your display (same content on both screens) or extend it (more workspace across two screens). Most people prefer extended mode for productivity.
What doesn't work
MacBook Neo has some display limitations compared to MacBook Air and Pro. Here's what you can't do.
No Thunderbolt displays
MacBook Neo does not have Thunderbolt ports. Displays that require Thunderbolt won't work. If your display supports both Thunderbolt and DisplayPort (like some LG UltraFine models), it will work via DisplayPort mode, but not at Thunderbolt speeds.
No multiple native displays
You cannot connect two external monitors natively. Closing the lid doesn't change this. The hardware only supports one external display output.
No 5K at native resolution
Apple's Studio Display runs at 5K (5120x2880). MacBook Neo can connect to it, but the output is scaled down. You're paying $1,599+ for a display that won't run at its native resolution on this machine.
Studio Display with MacBook Neo
If you already own a Studio Display, it does work with MacBook Neo. Connect it using the standard Thunderbolt cable plugged into the left USB-C port. The display runs over USB mode since MacBook Neo lacks Thunderbolt.
The Studio Display camera works, including Center Stage. The microphone and speakers work too, so you get the full video call experience.
Resolution is where it gets tricky. You can run at 1080p, which looks sharp. You can also run at 4K, which is sharp but makes text small. At 1440p scaled resolution, the image looks slightly fuzzy. MacBook Neo also doesn't show the same scaling options that other MacBooks display for external monitors.
The Studio Display's USB hub works, but only at USB 2 speeds (around 40MB/s). Too slow for external storage, but fine for security dongles or basic peripherals.
Don't buy a Studio Display specifically for MacBook Neo. But if you already have one, it works well enough as a secondary setup.
Clamshell mode (closed lid)
You can use MacBook Neo with the lid closed, turning it into a desktop. This is called clamshell mode.
Requirements
- External display connected
- External keyboard (Bluetooth or USB)
- External mouse or trackpad (Bluetooth or USB)
- Power adapter connected (required)
Setup
- Connect your external display, keyboard, and mouse
- Connect the power adapter
- Close the MacBook lid
- Press any key or click the mouse to wake
Your MacBook Neo will now run entirely through the external display.
MacBook Neo is fanless and dissipates heat through its aluminum body. In clamshell mode, place it on a stand with the hinge facing up. Don't position it with the hinge down, as this blocks heat dissipation.
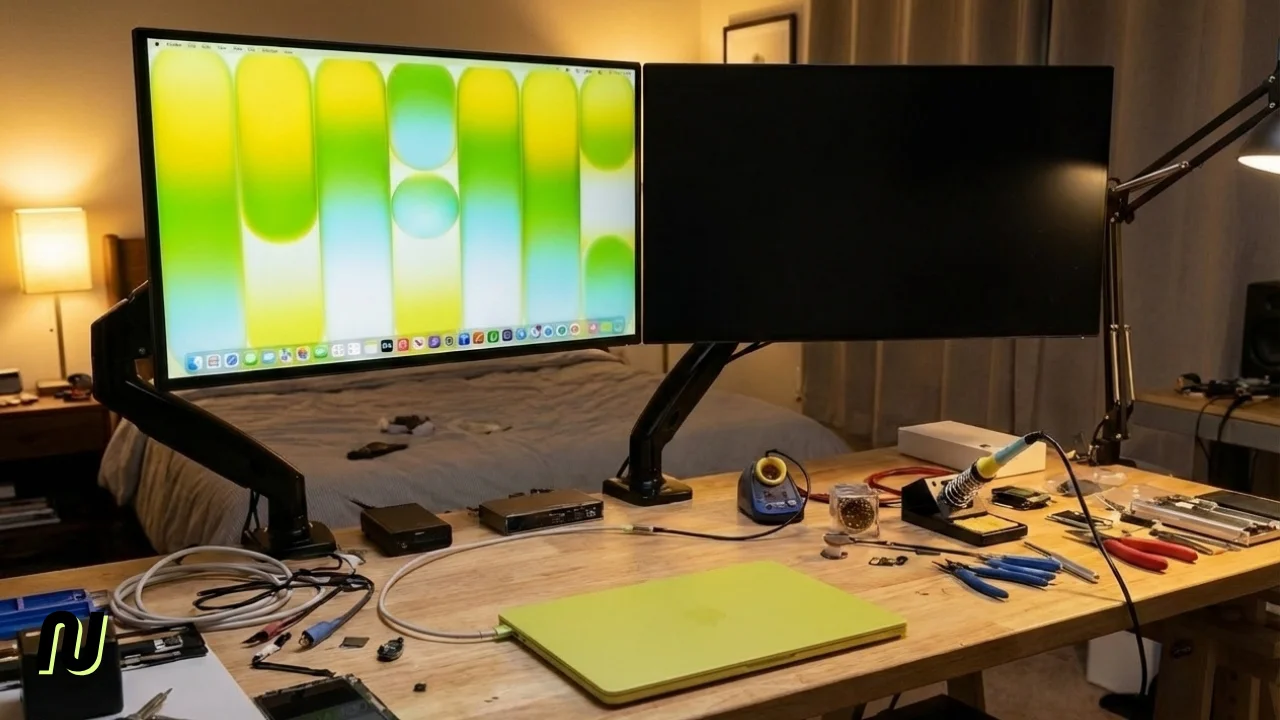
Second monitor with DisplayLink
Need more than one external display? There's a workaround using DisplayLink technology.
DisplayLink docks use software compression to send video data over USB-C, bypassing the one-display hardware limit. This lets you add additional monitors.
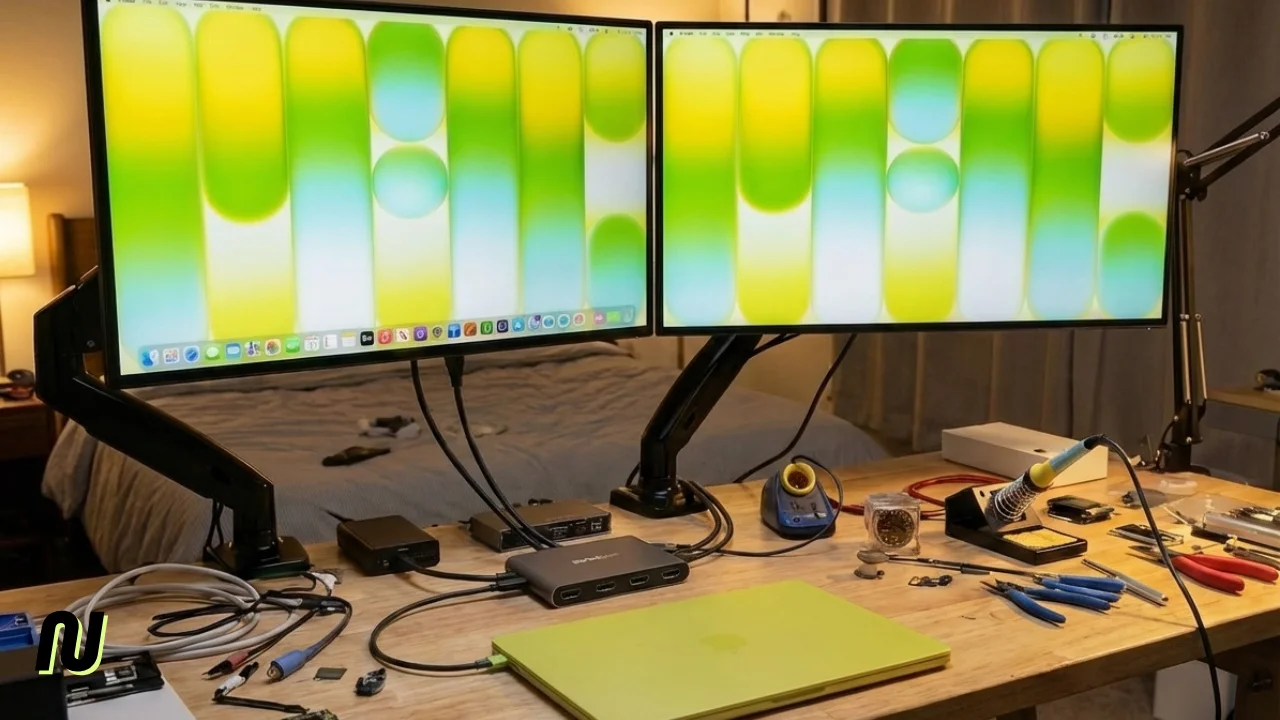
How to set up DisplayLink
- Buy a DisplayLink-compatible dock (Plugable UD-6950PDH, UGREEN Revodok Pro 209, etc.)
- Download DisplayLink Manager from the dock manufacturer's website
- Install and grant Screen Recording permission in System Settings > Privacy & Security
- Connect your monitors to the dock
- Configure displays in System Settings > Displays
DisplayLink limitations
DisplayLink isn't perfect:
- Lag: Software compression adds overhead. Fine for documents and browsing, noticeable in video editing or gaming.
- DRM content: Netflix, Disney+, Apple TV+, and other streaming services may show black screens with audio only.
- CPU usage: DisplayLink uses CPU resources for video compression.
For office work and productivity, DisplayLink works well. For creative work or gaming, stick with the native single-display connection.
Best monitors for MacBook Neo
Since MacBook Neo maxes out at 4K 60Hz, expensive 5K displays are wasted. Here's what to look for:
- Resolution: 4K (3840x2160) hits the sweet spot
- Size: 27-inch is ideal for 4K scaling
- Connection: USB-C with Power Delivery simplifies your setup
- Refresh rate: 60Hz is all you need (MacBook Neo can't drive higher)
Recommended options
- LG 27UK850-W: 27" 4K, USB-C with 60W Power Delivery, good color accuracy. Around $450.
- Dell U2723QE: 27" 4K, USB-C hub built-in, excellent for productivity. Around $550.
- Samsung ViewFinity S8: 27" or 32" 4K, USB-C, matte finish reduces glare. Around $400-500.
- ViewSonic VP2756-4K: 27" 4K, accurate colors, USB-C. Around $400.
Avoid Apple Studio Display unless you already own one. It works but runs at downscaled 4K, not its native 5K.
Common issues and fixes
If your external display isn't working as expected, try these fixes.
Display not detected
- Confirm you're using the left USB-C port
- Try a different cable
- Connect directly without hubs or adapters
- Restart your MacBook Neo
- Put Mac to sleep, wait 30 seconds, wake with keyboard
Low resolution or wrong refresh rate
- Check that your cable supports 4K 60Hz (HDMI 2.0+ or DisplayPort 1.4)
- Open System Settings > Displays and manually select the correct resolution
- On LG monitors, try changing DisplayPort version in monitor settings from 1.4 to 1.2
Display flickers or goes black
- Try a shorter cable (long cables can cause signal issues)
- Remove any adapters between the cable and MacBook
- Check monitor firmware updates
Summary
MacBook Neo supports one external 4K display at 60Hz via the left USB-C port. No Thunderbolt, no multiple monitors natively, no 5K at native resolution. For most users, this is enough. Plug in a 27" 4K monitor and you get nearly triple the screen space.
If you need multiple monitors, DisplayLink docks work as a workaround with some tradeoffs. And if you're choosing between MacBook Neo and MacBook Air M4 specifically for multi-monitor support, the Air supports two displays natively.
For most students and casual users, one good 4K monitor plus the built-in display is plenty of screen real estate. Just remember to use the left port. Ready to get started? Check our setup guide to configure your new MacBook Neo.